Gardening for Ordnance Copyright 2013 Douglas Stockdale
Odd title for a post, but hopefully it will soon be self evident as to the reason for this narrative.
Perhaps until very recently, I have been doing my own film scans after processing. First, I have the film scanning equipment and second, I am cheap. Very cheap. Opps, I mean very frugal. Meanwhile, I realized that my scans of the various films were not always giving me what appears as the best starting material as it appeared that I was getting some kind of color drift in the process. I eventually changed my scanning process to first create a JEPG file, then in Photoshop open that scan file in RAW and make some of the color temperature and contrast adjustments before really working on the image. Much better.
I had also been advising a couple of folks that have been working in film that they might want to consider getting some film scans to work out some details in photoshop before making a print by a photo lab. So last week at my photo lab while getting the latest roll of film processed, I checked on their scanning prices, as I recall spending $45 for one high-resolution scan. I found out that they have incorporated a film scanner in line with their film processing and that for $5 I could obtain a low resolution film scan of each image at the time of processing. Wow, even for a cheap guy (frugal guy!), that sounded like a good deal. Especially when you consider their film scanner was some 50 times more expensive than mine. So I added the film scanning to the Fuji transparency film processing.
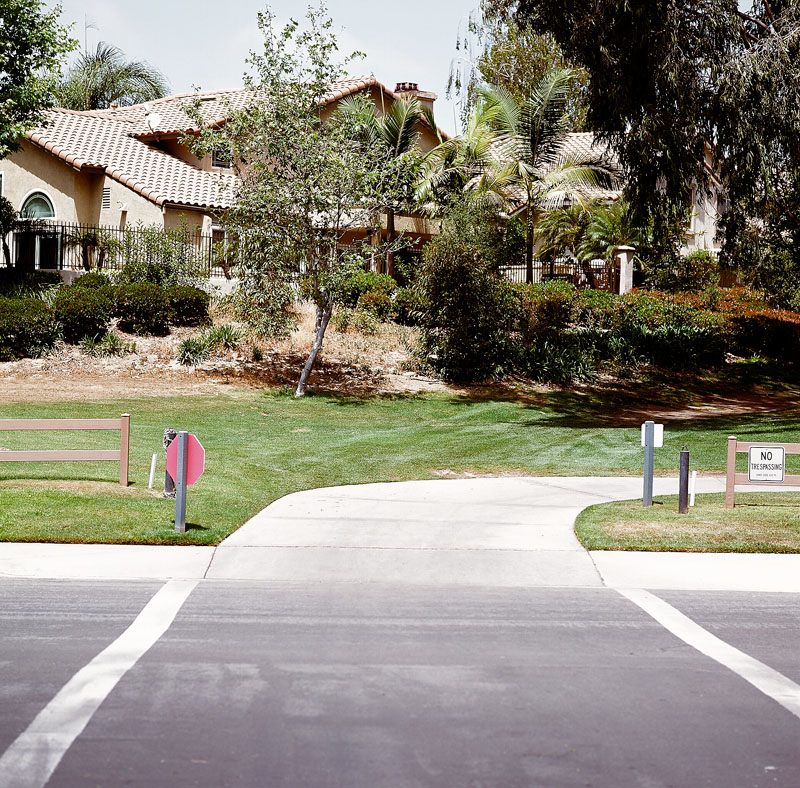
And so this is the results show. The photograph above is part of my ongoing photographic project Gardening for Ordinance. To save you some reading, the bottom line is that this looks great, and very little required by me opening the scan in Photoshop RAW to adjust color temperature and contrast range. What I don’t like is that they do an ever slight crop to eliminate the film edge, which I prefer to keep in at this stage of my evaluations.
First thing that I really like is the clean film scan, no spotting required. With my studio film scanning, I had all sorts of major dust to eliminate after scanning just to have a low res print to evaluate. I could probably not spend the time on spotting, but sometimes the stuff in the scan was a bit distracting, especially as I intended to print each image to obtain some project feedback. So with these scans, saving this time.
As to the batch scan process, I now have a low resolution scan to evaluate for each and every image of the film roll, no need to spend time on the light box trying to decide which transparency to scan. So that step is eliminated!
The low resolution film scan is a great size, providing a file size that is an 8 x 8″ image at 240 pixels/inch, which works fine for me as my evaluation prints are 5 x 5″ on 8-1/2 x 11″. Also a small enough file size that does not bog my old computer down to process each step and only slightly smaller than with my own scanning process, which I was scanning to a 10 x 10″ image at 300 pixels/inch.
Also what is nice is that as soon as I am back in the studio with the freshly processed film, I am ready to go. Just tuck the CD into the drive and open the folder up to decide what image to evaluate first. cool.
So bottom line, I like it, and this lab processing option only adds about $0.50 per image, which I think is a pretty good deal for all of the upsides. So this is now my new photo lab film process.
Cheers!

Leave a comment