Making a transition from using small (8×11-1/2″) inkAID transfer film to the slightly larger (13×19″) film size exposed how finicky and some of the underlying issues are with using the inkAID transfer process. The fact that my early small pigment ink transfers were completed in the Spring and the larger pigment ink transfers were made in the Summer added to the intrigue.
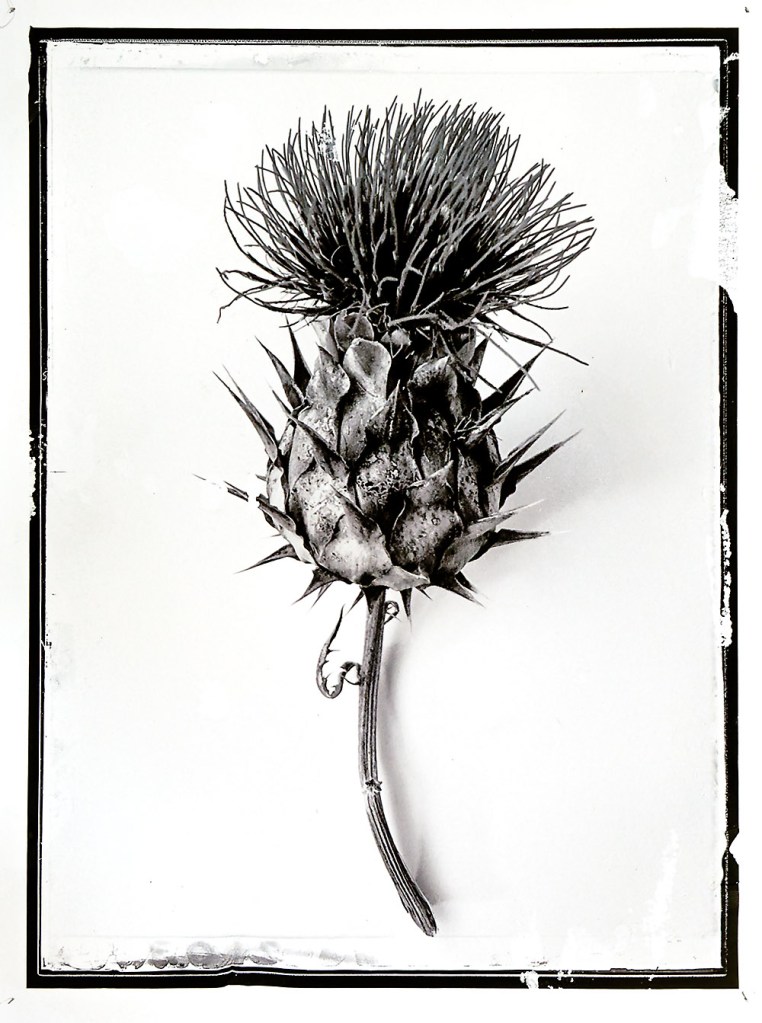
As a reminder; the inkAID transfer process requires a surface being wetted with their transfer solution (Transferiez Image Transfer Solution) with the pigment ink printed transfer film layered on for a short duration and then removed, after which the pigment ink image would remain (transferred) on the surface. The important aspect of the inkAID transfer process is that whatever surface is wetted has to stay wetted for this process to work. Which is where my problems began to arise. My first larger black and white transfer of Artichoke Thistles image is above and many of the resulting ‘defects’ are evident. And I suspect most of my issues stem from the Transferiez solution drying out during the transfer process.
So why was the Transferiez solution drying out? That starts to get complex, while the two underlying reasons is due to the chemical processes of evaporation and absorption. And what follows is what I implemented to control those variables.
Relatively rapid evaporation is an issue for the Transferiez solution as it has to be heavily diluted in 91% Isopropyl alcohol, which is very volatile (evaporates quickly), especially in warm rooms (hint, hint). My earlier small transfer experiments were in the early Spring when my unconditioned studio was about 70F, while the one above was during the mid-summer and the studio temp was about 84F (+). The answer turned out to be two-fold; first was to reduce the duration of the pigment ink transfer process (4 minutes eventually down to 2 minutes) and the second was to complete my transfers outside of the studio in the early morning when the outside ambient temperature was 68 – 70F.
Related to the above is that the amount of surface area of what I was coating had increased by two and half times. I could see the transfer solution starting to dry on one side of my paper when I was finishing the coating on the other side. Yikes. Thus, as a rule of thumb, I doubled the amount of solution I was coating and if I was unsure when I examined the amount just before the transfer process, I am adding a bit more.
My second issue: absorption. Since I was completing my pigment ink transfers on cotton substrate (paper) the transfer solution was being absorbed in to the fibers of the cotton substrate. Yikes, being hammered by two conditions at once, while solving one (evaporation), what about the other? Overnight the lights came on; I had a similar type of issue when I started to incorporate transfer with my monotypes. Thus, I needed to have a coated paper as my substrate. My first thought was to use an photo-inkjet coated cotton rag paper (matte), and that did seem to help a little but I still had too much absorption and related transfer issues. Second idea was to fog (spray) a coating of acrylic medium on the surface of my cotton substrate as I did with the monotypes. I then allowed the medium coated paper to dry over night before attempting the pigment ink transfer. Yes! The transfer solution still may have had some absorption, nevertheless the paper surface remained wet for the entire 2 minute transfer outside in the 70F morning environment.
During this I learned another indication that my solution was drying too quick; if when I started to remove the transfer film off my paper surface and areas of the pigment ink did not transfer or start to lift off (sticky ink sections), I needed to either add more transfer solution or reduce the transfer duration times. Sometimes both.
Another aspect of this transfer process I am learning (still not sure I have this part exactly down yet) is the amount of pressure you place onto of the transfer film immediately after you lay it on top of the wet solution. This appears to be counter intuitive to print making, especially if using a letterpress or intaglio ink press, which heavily relies on the amount of pressure to have a good transfer and print. At this time, similar to some of the inkAID videos, I am using a roll of paper towels to roll over the film immediately after I lay the film on the transfer solution. Some instructions indicate using a printing brayer, while I have found that to be too hard. My current issue is that I will roll the paper towel roll over more than once ‘just to be sure’ of the film contacting the solution. sigh.
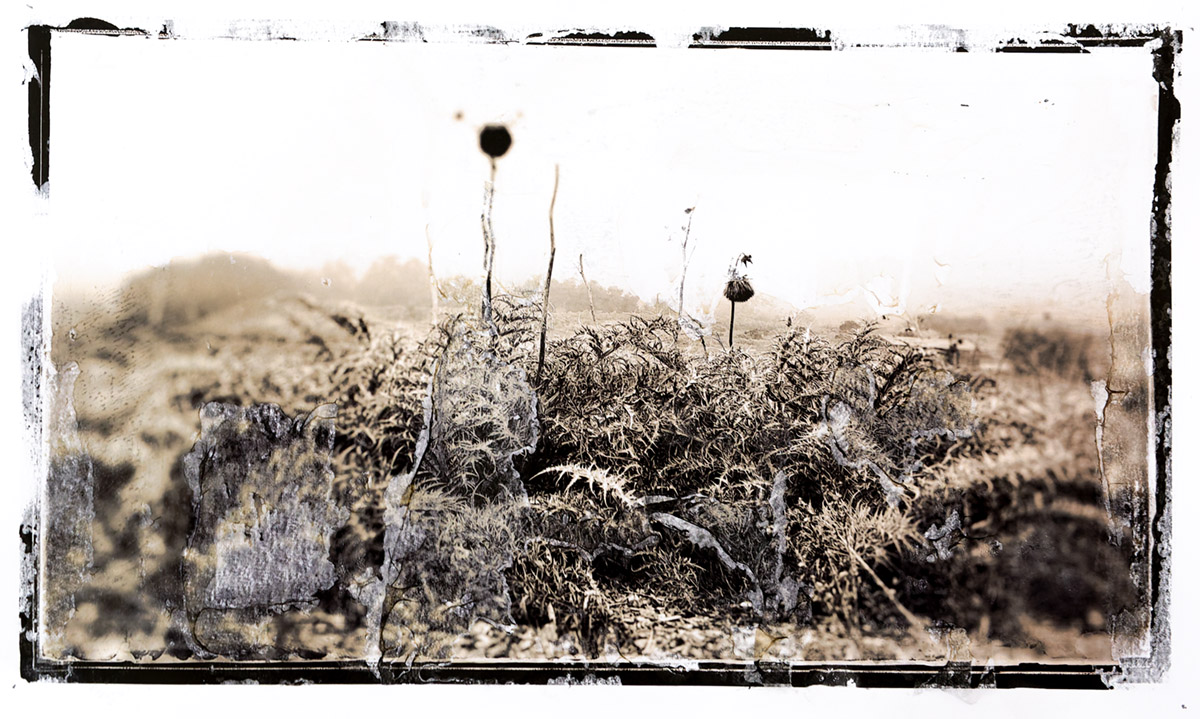
While still not perfect, the transfer prints appear much bette with the smaller defects providing an alternative-photo (hand-made) appearance to the resulting transfer prints, such as the one below. Nevertheless, something else has started to bug me; what was on my monitor was not what the final transfer print looked like (related to print color and print contrast). There is something about the inkAID transfer films that is not a direct reflection of what-you-see-is-what-you-get. And in various inkAID articles, I do not recall anyone discussing this color/contrast shift using the inkAID transfer films. Actually I am still working on that problem (I think I have the contrast issue solved) and potential solutions, so stayed tuned for the next update, which will feature some of my color images.
Cheers!
Doug